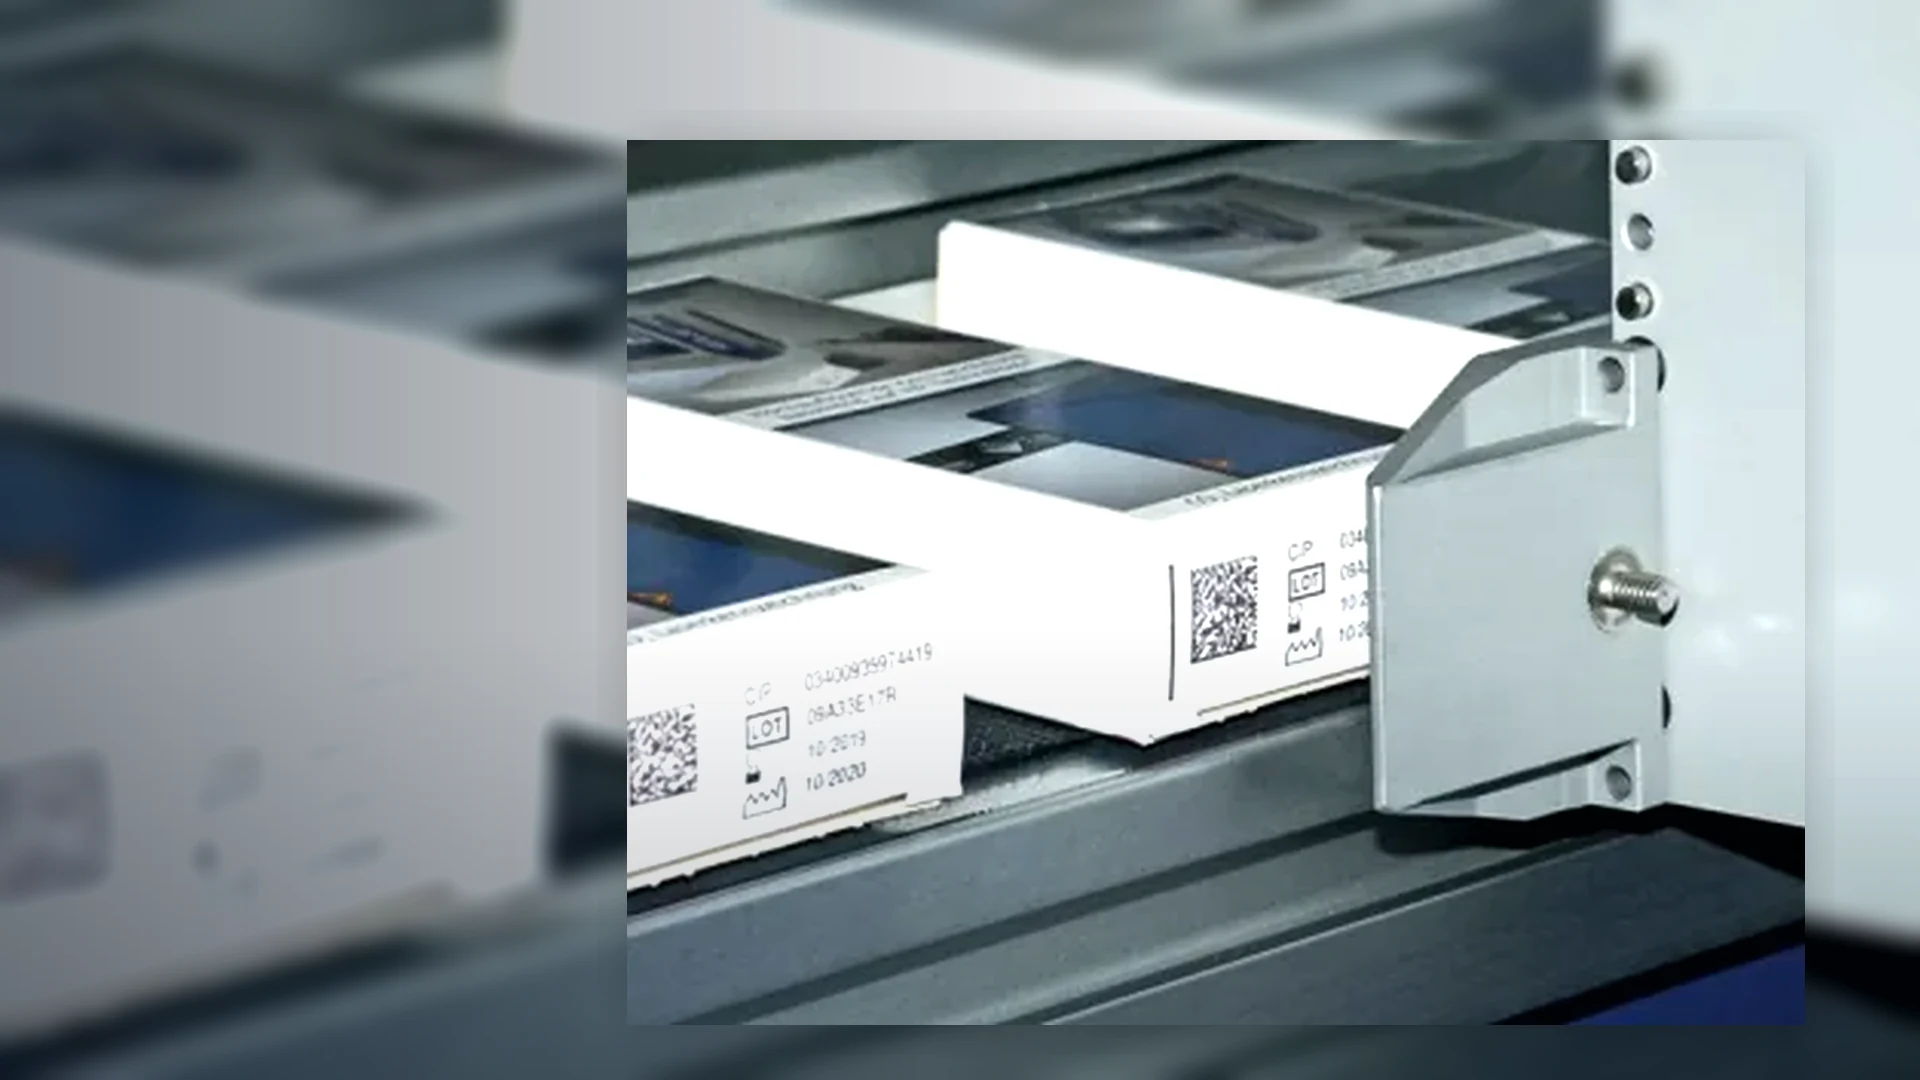
Continuous inkjet coders (CIJ)
Non-contact inkjet coders for fast moving bottles, cans, containers, flexible packs and irregular products where the code has to be applied while the line keeps moving.
View details →Inkjet coders for plastic bottles, glass bottles, jars, tubs and containers where the code must remain readable after filling, capping, labelling and handling.
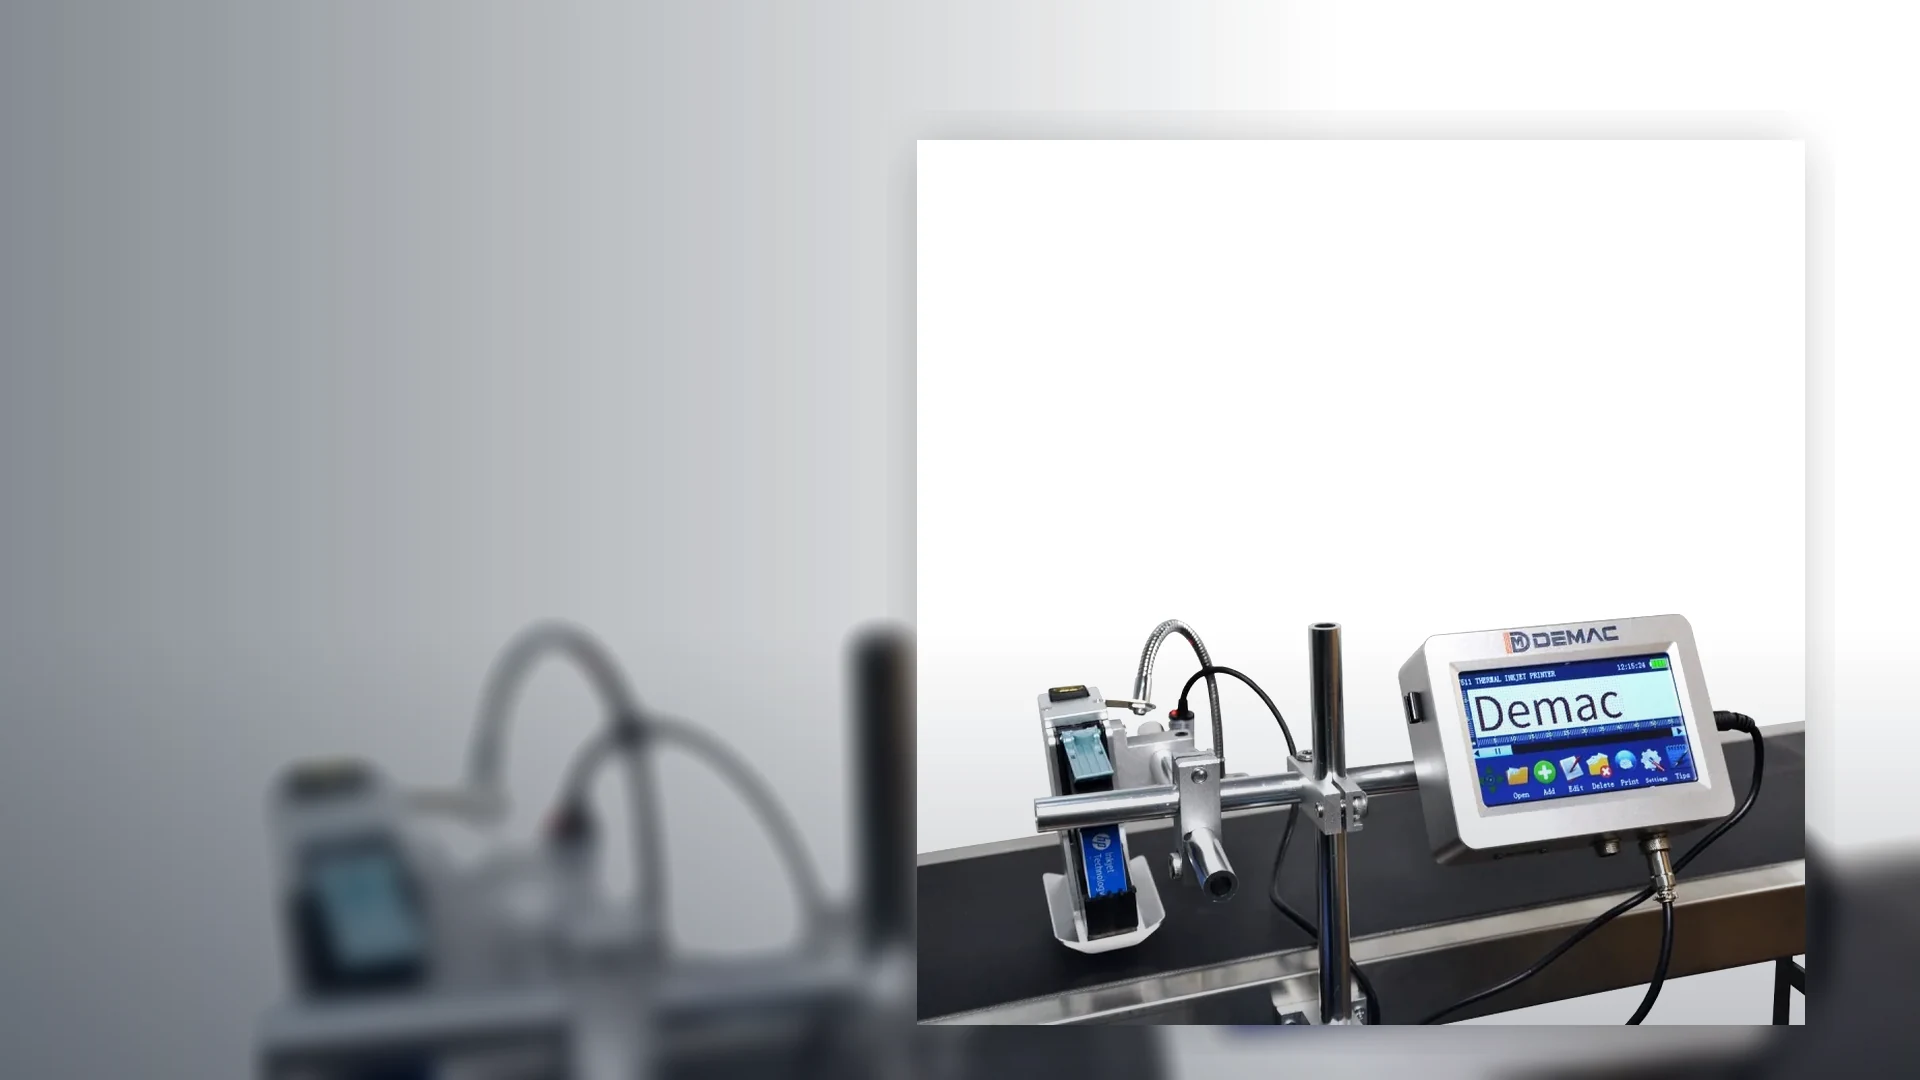
The coder must be matched to the product surface, line speed, orientation and the amount of variable data being printed. A practical trial is recommended where adhesion, dry time or barcode quality is important.
For high speed or curved products, start with continuous inkjet. For cartons, labels and flat surfaces requiring crisp codes, start with thermal inkjet. For outer cases, consider large character inkjet. For very low volumes, a handheld inkjet coder may be enough.
Send application detailsNon-contact inkjet coders for fast moving bottles, cans, containers, flexible packs and irregular products where the code has to be applied while the line keeps moving.
View details →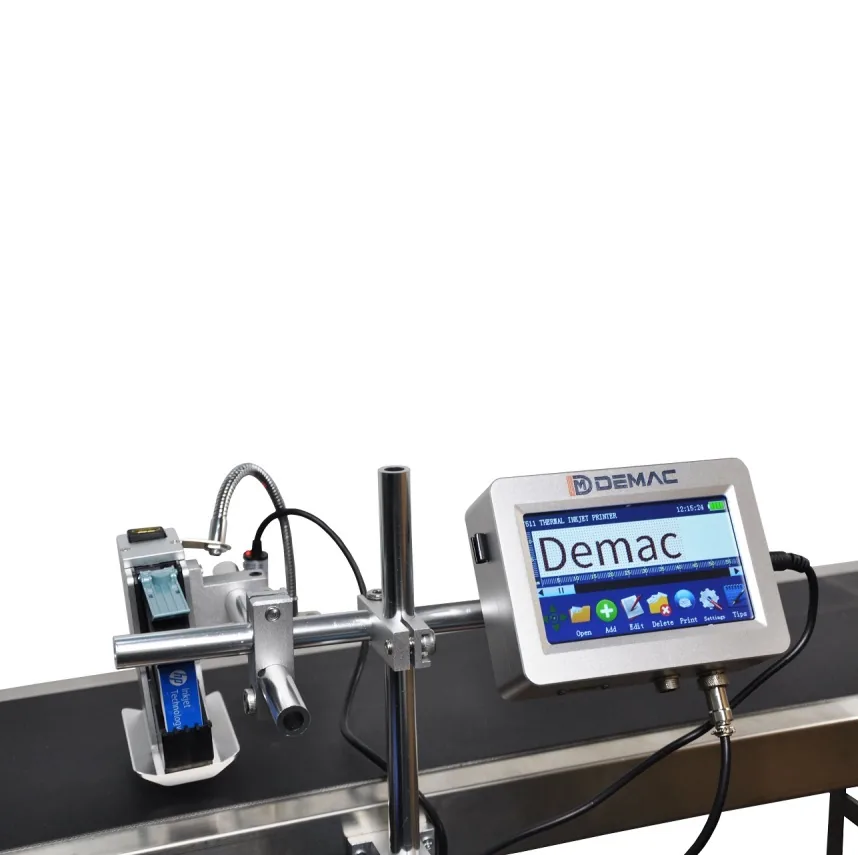
Clean cartridge-based inkjet printers for cartons, sleeves, labels, trays and porous or coated packaging where crisp text, QR codes and barcodes are required.
View details →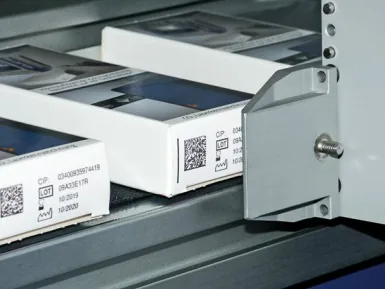
Industrial inkjet marking systems for outer cases, transit boxes and trays, replacing pre-printed cartons with flexible variable print.
View details →Bottle coding is rarely only a printer choice. The code location, container movement and surface condition determine whether the print remains legible after filling, capping, labelling and packing.
Common positions include the bottle shoulder, base, side wall, cap, label or carton. Check curvature, mould marks, ribs, embossing, product visibility and downstream scuffing before selecting the position.
Round bottles can rotate or wander between guide rails. Confirm the bottle diameter range, conveyor material, side guidance and whether spacing devices are required to create a reliable print window.
Condensation after cold filling, water from rinsing and product splash can prevent adhesion. Trial packs in the real condition and consider moving the coding point, adding drying time or changing the ink system.
| Bottle variable | Information to supply | Why it changes the solution |
|---|---|---|
| Material | PET, HDPE, glass, metal, coating and colour | Controls ink chemistry, contrast and drying. |
| Shape | Diameter, taper, panels, ribs and mould features | Determines print gap and mounting position. |
| Condition | Dry, chilled, wet, oily or dusty at the coding point | Affects adhesion and handling time. |
| Speed | Products/minute, conveyor speed and pitch range | Determines triggering, encoder and print capability. |
| Code | Actual date, lot, text, barcode or 2D artwork | Determines print area, resolution and inspection. |
Position the product sensor where one trigger represents one bottle and where reflections or gaps do not create false signals. Use an encoder where belt speed varies. The printhead bracket should allow repeatable adjustment while preventing contact with unstable bottles.
If the bottle code is linked to the label or fill recipe, define how the line selects the correct message and how a mismatch stops or rejects product.
Supply bottles from normal production, not only clean laboratory samples. Test the smallest and largest formats, all colours and the most difficult surface condition. Agree the rub, dry-time, scan or visual check and retain an approved master sample.
Repeat the relevant trial if resin, label, coating, bottle supplier, filling temperature or cleaning process changes.
It depends on surface condition, line access and traceability. Coding before filling may provide a dry surface; coding after filling can tie the mark more closely to the packed product. Review the complete process and reject route.
Yes where the line can expose and stabilise the base with enough space for a protected printhead. Conveyor transfer, base shape and downstream rubbing must be tested.
Common causes include the wrong ink, condensation, short dry time, product contact, rubbing on guides or packs, excessive ink laydown and an unsuitable code position.
Use documented recipes and repeatable mechanical adjustments for guides, sensor and printhead position. Confirm the full range during trial and handover.
TIJ can suit a flat label or controlled panel where high-resolution print is required. CIJ is usually the stronger starting point for fast, curved or less consistently presented bottles.
Send bottle samples, the intended code position and a line video for a practical coding review.
Review bottle coding